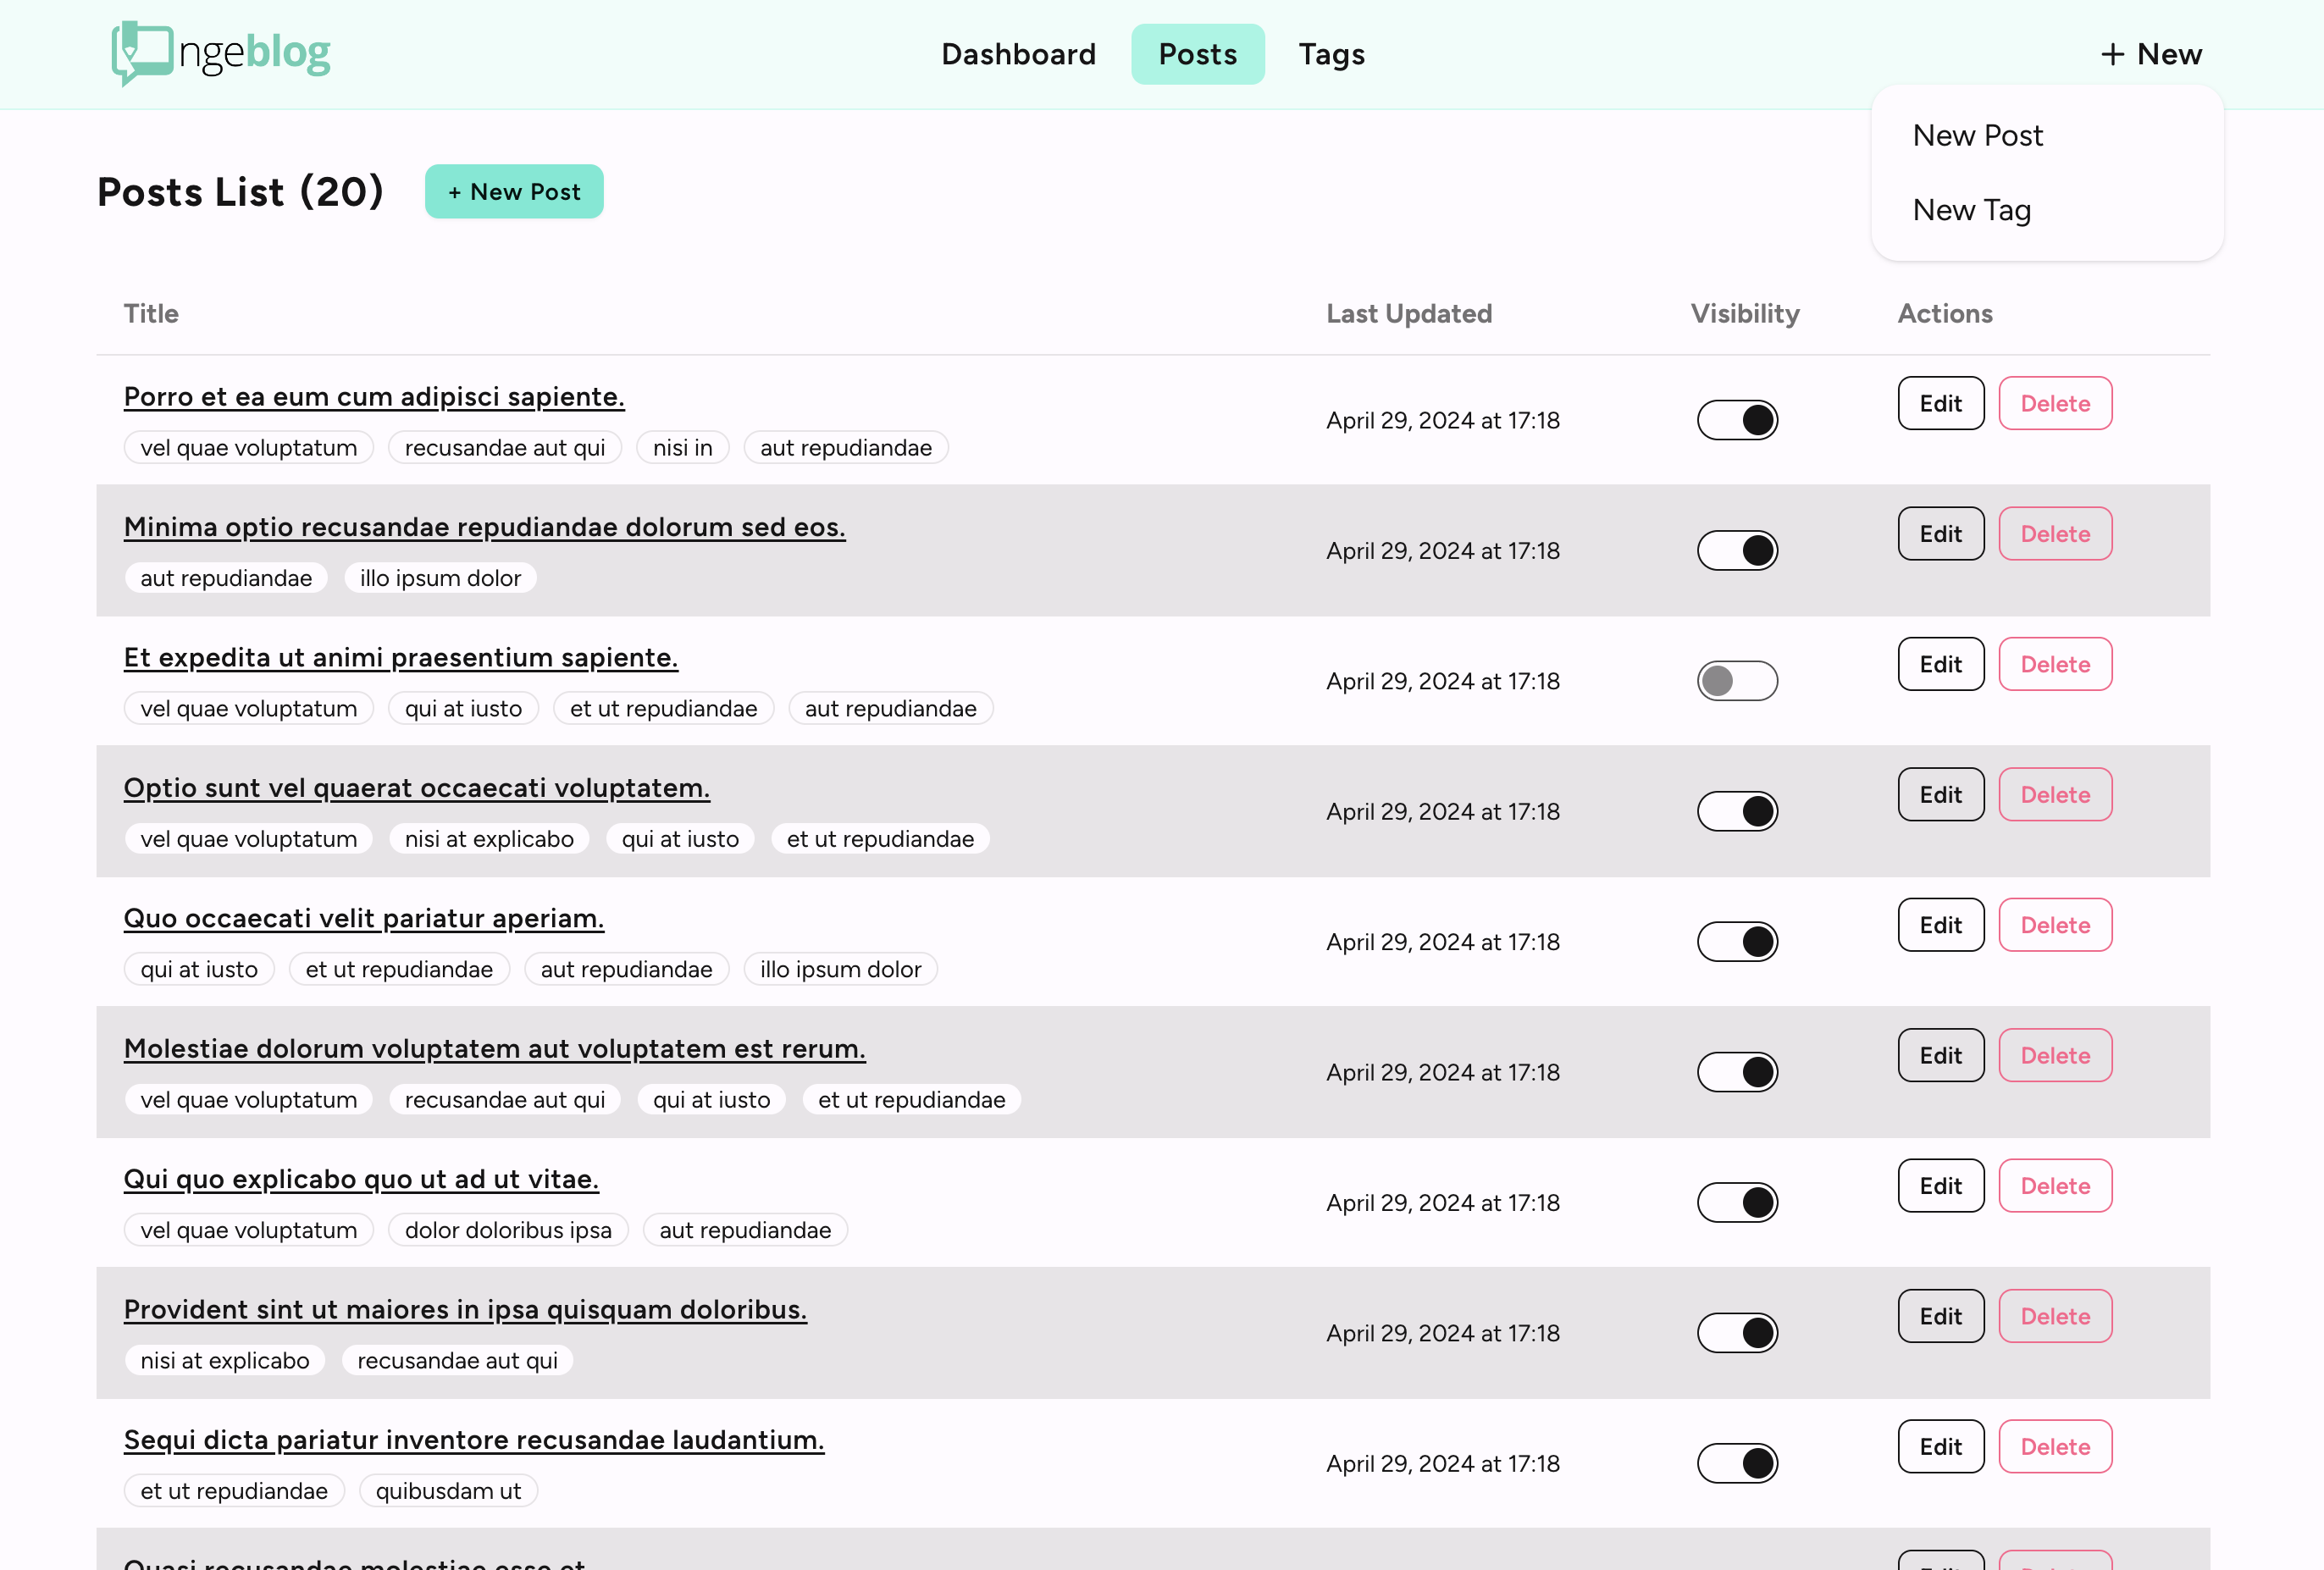
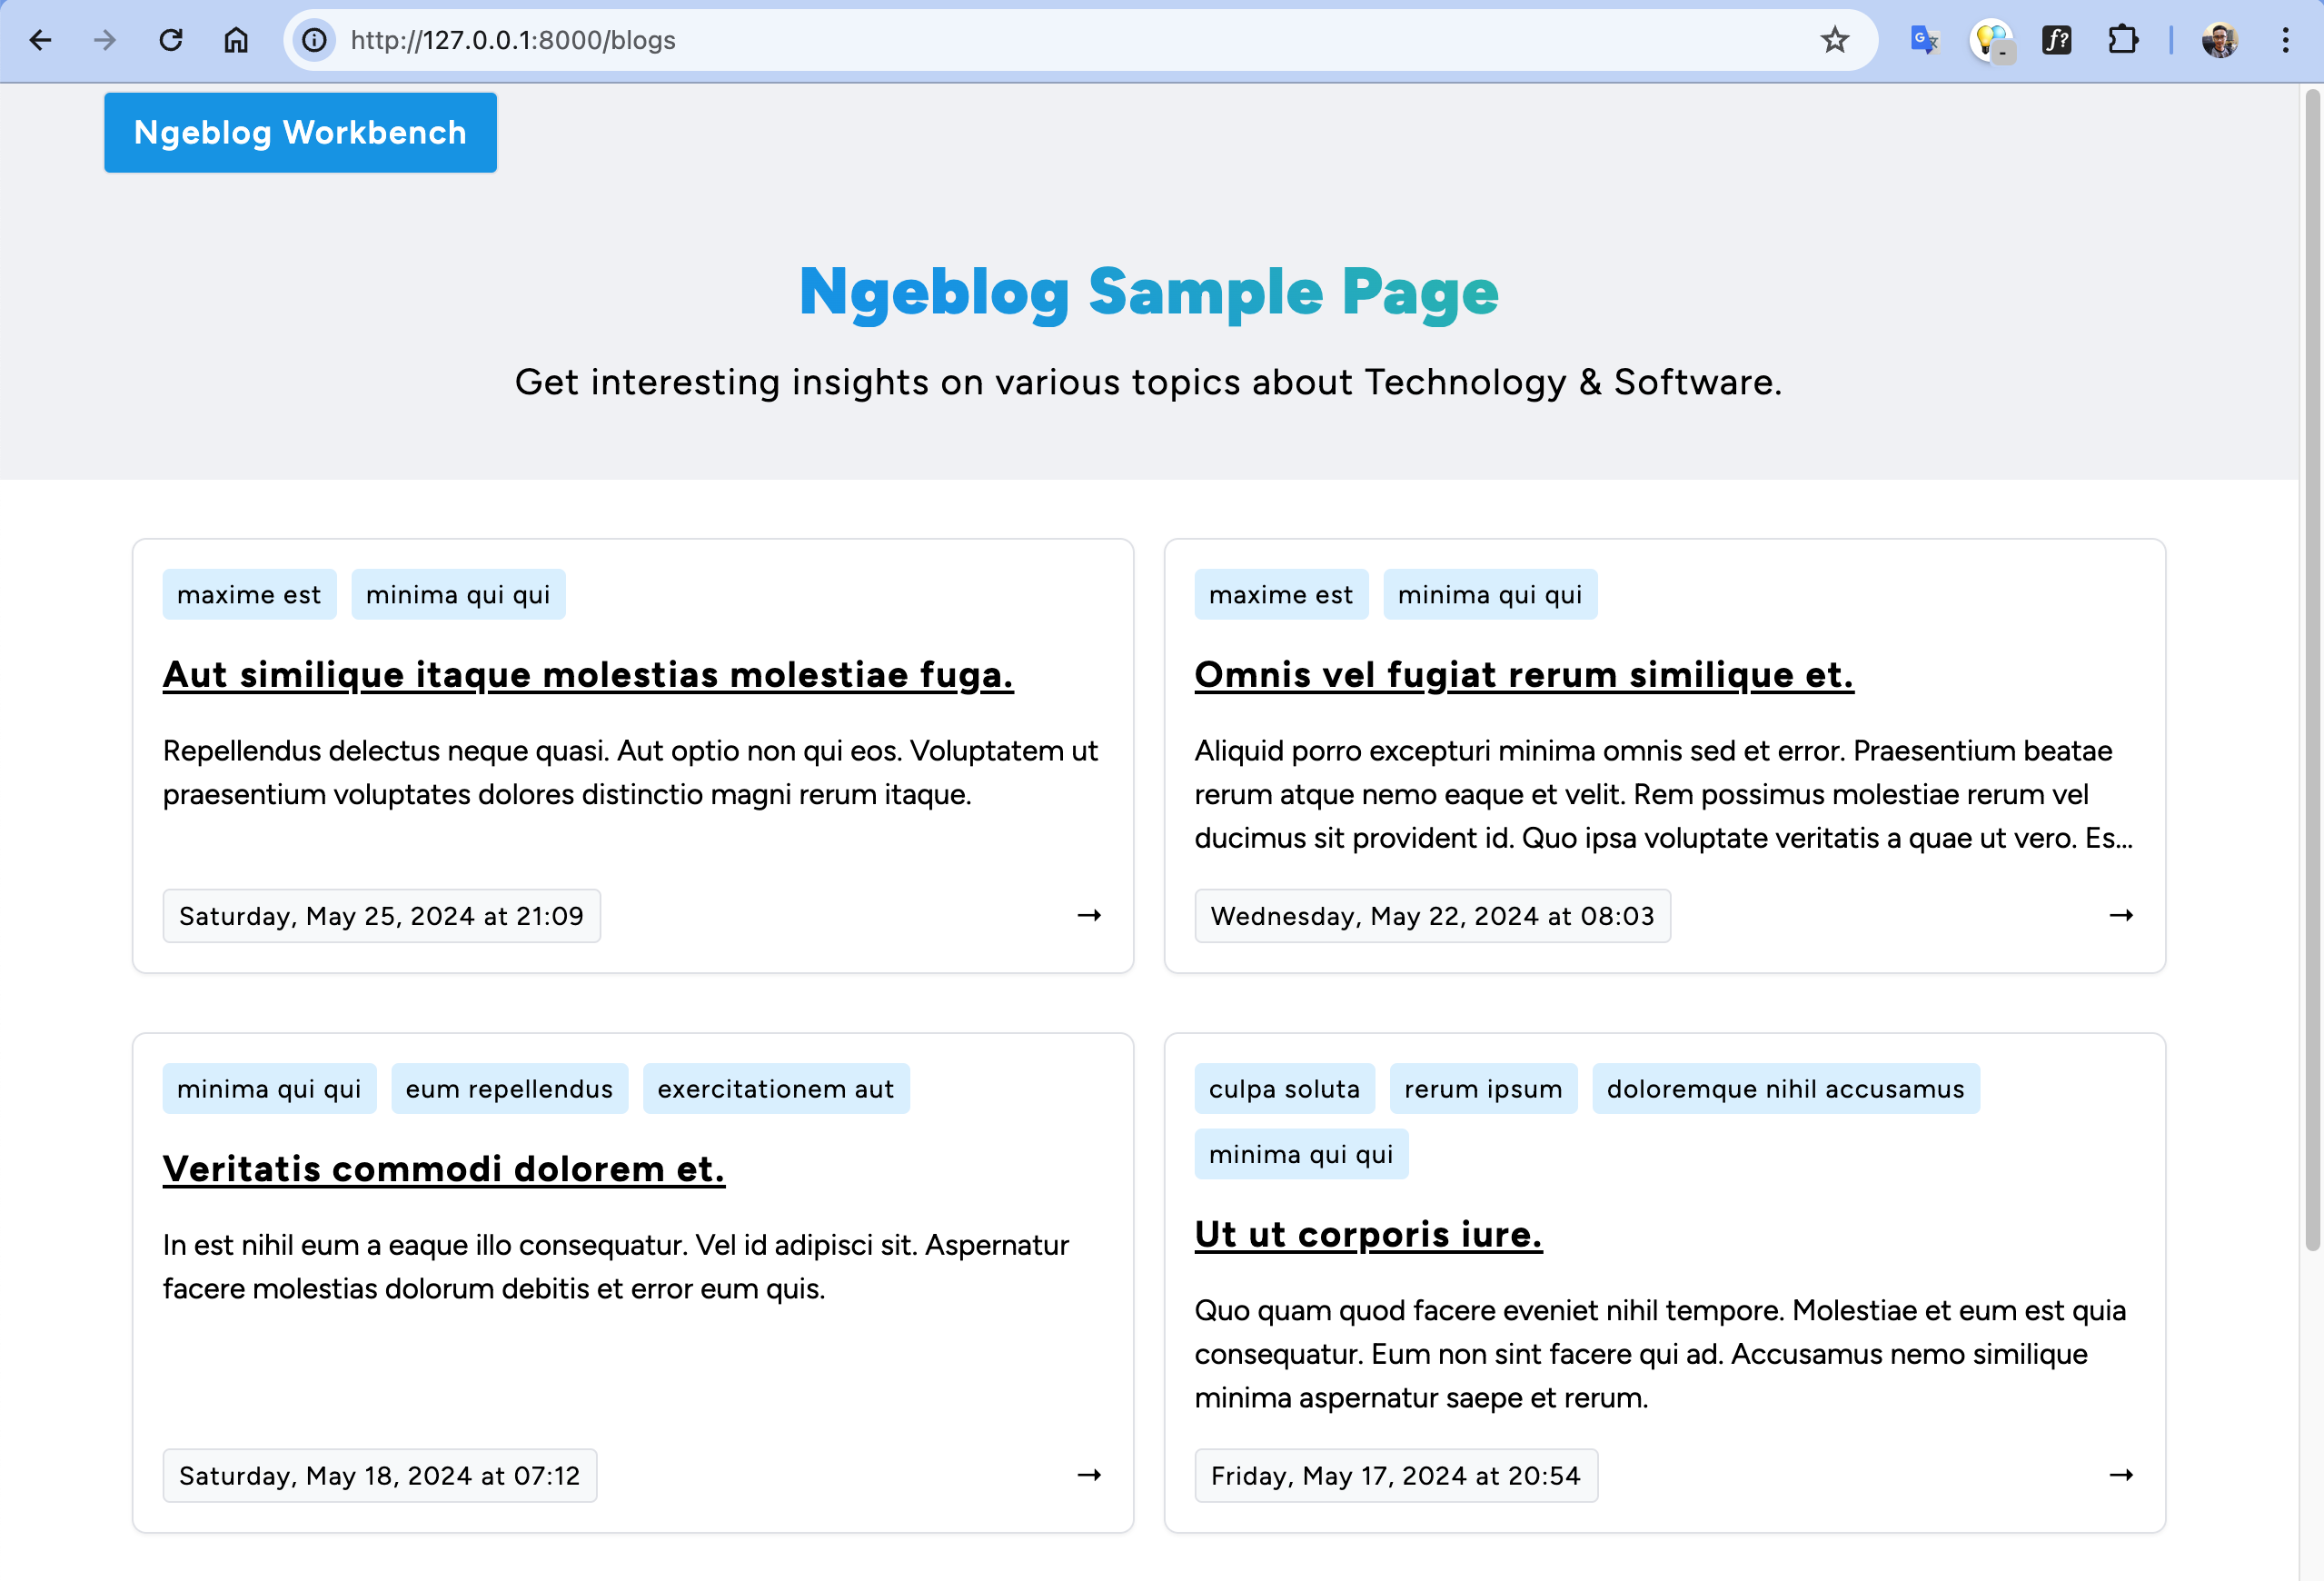
It helps you to quickly set up a simple Blogging System for your existing or brand-new Laravel application. Ngeblog provides a simple and elegant admin panel built with Vue and Daisy UI as a Modern SPA App.
- BlogPost with Tiptap Editor.
- Tagging feature.
- Dashboard.
- Starter Page.
- and more...
composer require antoniputra/ngeblogResolve the installation:
php artisan ngeblog:installAfter installation, by default will provide an admin panel at https://your-web.test/ngeblog and only available for authenticated user.
Follow below section to customize as you wish.
Go to your .env and put new key value:
NGEBLOG_PATH='blog-admin-panel'You can add your own protection logic like below:
// App/Providers/AppServiceProvider.php

Gate::define('accessNgeblogAdmin', function ($user) {
	return in_array($user->email, [
		// list of whitelisted emails...
	]);
});I glad to see you here on this section. Whether you're a seasoned developer or new to open source, your participation is valuable. Let's collaborate and learn together! 🚀
Follow the steps below to get started.
- Laravel 11
- Pest, Testbench
- Vue 3 & VueRouter (script-setup)
- Tailwind & DaisyUI.
- Tiptap Editor, HeadlessUI, VueUse, FloatingUI.
- Fork and clone the repo, then navigate to the project folder.
- Install dependencies:
composer install&npm install. - Run the app:
composer serve.
- For development (rebuilds on save):
npm run watch
- Before pushing code (minified version):
npm run build
- Thanks to @arryanggaputra for the nice looking logo.
Ngeblog is open-sourced software licensed under the MIT license.
Built with love by @antoni_putra12 and made better by you.


